
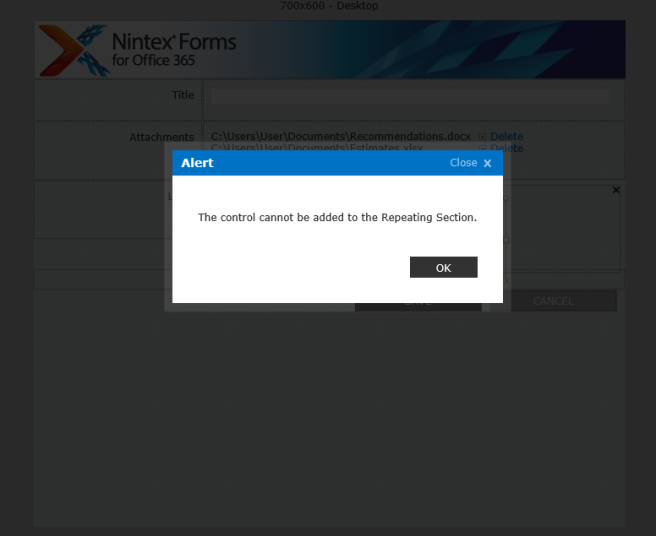
You may have noticed that if you try to add a Hyperlink control to a repeating section control in Nintex Forms for Office 365, you get an error message:
To get around this limitation, you can create your own hyperlink “control” with a couple of panels, and a couple lines of CSS and JavaScript. The code is really simple, and you can just copy and paste it from this post!
How to build the custom Hyperlink “control”
1. Expand your repeating section so that it’s about 3 times taller than when you initially drag it onto the canvas.
2. Drag a Panel shape into the repeating section. Make sure it’s inside the repeating section and not just on top of it.
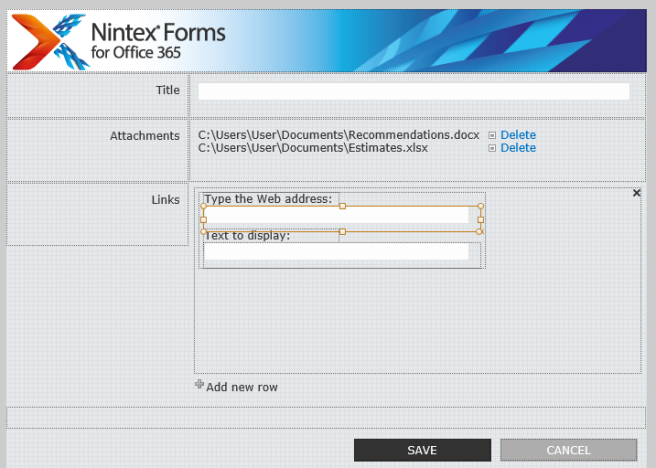
3. Drag 2 Single Line of Text controls into your new panel, followed by 2 labels, then arrange the 4 controls so that they look like the Hyperlink control. I changed the label text to match the labels in the Hyperlink control, too:
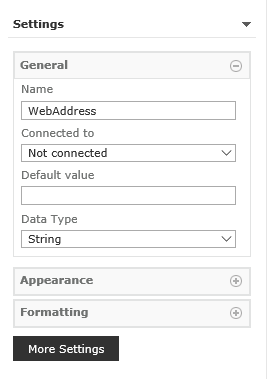
4. Name the top text control “WebAddress”:
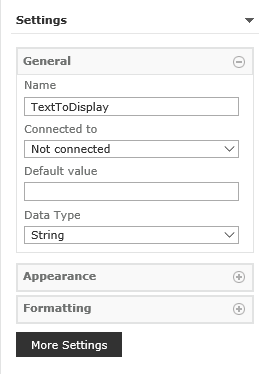
5. Name the bottom text control “TextToDisplay”:
6. Drag a second panel into the repeating section, and drag a Calculated Value control into the panel.

7. Add a rule to the top panel (the one with the text box controls) to hide it if the form is in Display Mode.
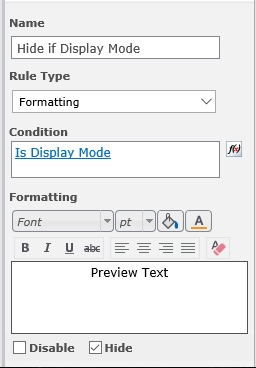
8. Add a rule to the bottom panel (the one with the calculated value control) to hide it when the form is NOT in Display Mode.

9. Double-click the bottom panel (the one with the calculated value control) and update its “CSS class” property in the Formatting section. Type hyperlink-repeater-section- into the field, then double-click the “Is Display Mode” function under the Common header on the right side of the dialog to insert the function into the “CSS class” property.
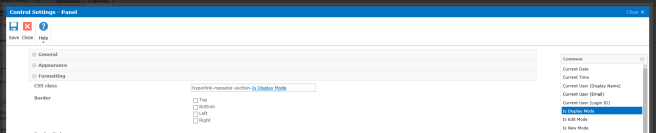 When the CSS class is rendered on the control, it will be rendered as hyperlink-repeater-section-True only if the form is in Display Mode. We’ll define a CSS class for hyperlink-repeater-section-True in a bit.
10. Double-click the repeating section and add CSS classes the same way. In the “Item CSS Class” field, add hyperlink-repeater-IsDisplayMode (again inserting the “Is Display Mode” function), and do the same in the “Alternate item CSS class” field.
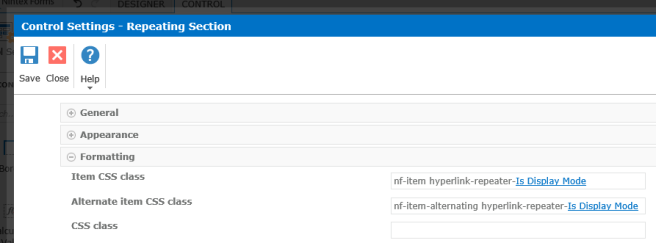
These CSS classes just allow us to remove the extra white space beneath the field when the form is in Display Mode.
Add a little bit of code
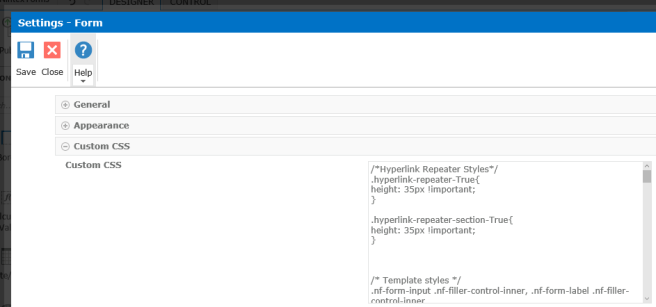
11. Now, define the two CSS classes we added to the form controls. In Form Settings, add the following CSS to the Custom CSS section:
/*Hyperlink Repeater Styles*/
.hyperlink-repeater-True{
height: 35px !important;
}

.hyperlink-repeater-section-True{
height: 35px !important;
}
When you’re done, it should look like this:
12. While you’re in the Form Settings dialog, add a JavaScript function to the Custom JavaScript section:
function MakeHyperlink(url, text){
return '<a href="' + url + '" target="_blank">' + text + '</a>';
}
This is the function we’ll call in the formula of the calculated value control. Click Save.
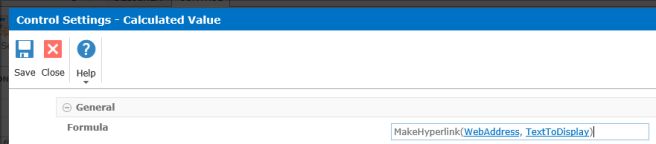
13. Set the formula for the calculated field control in the bottom within the repeating section. Double-click the formula to open it, then type MakeHyperlink( into the “Formula” field. All you’re doing here is calling the JavaScript function you wrote in the step above.
You need to pass the function 2 parameters: the web address, and the text to display. Double-click the WebAddress control under the Named Controls header in the right side of the dialog box. Type a comma (to separate the parameters), then double-click the TextToDisplay control. When you’re done, the formula will look like this:
14. Before closing the dialog, change the value of the “Recalculate formula on view mode” to “Yes”, and change the value of the “Recalculate formula on new mode” and “Recalculate formula on edit mode” to “No”.
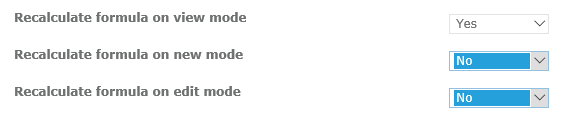
Click Save.
14. Finally, clean up the repeating section so that it’s not gigantic when the form is in Edit Mode (we’re already fixing this in Display Mode with the custom CSS). Drag the bottom panel (the one with the calculated value control) on top of the top panel (the one with the text box controls), then shrink the size of the repeating section so that it just barely fits around the stacked panels.
The finished form should look like this:

Just a note– when/if you need to change anything in the panels within the repeating section, you will probably need to expand it and “un-stack” the panels. Typically, Nintex Forms will automatically hide any vertical whitespace created by panels being hidden, but because the panels are within a repeating section, we have to take matters into our own hands.
Now you’re ready to test your form! It’s not really easy to test in Preview mode, because the repeating values are stored in the form instance itself, so go ahead and publish the form.
Try it out!
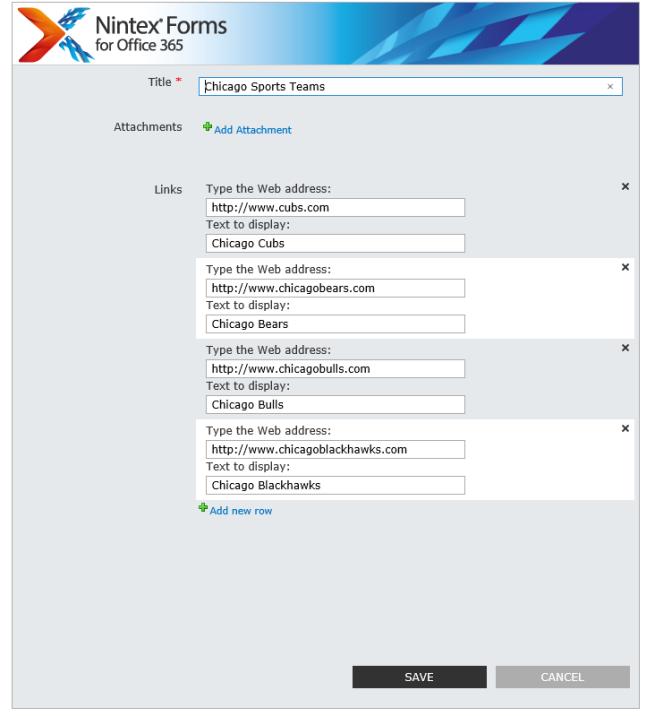
Create a new list item, then add a couple of hyperlinks to the Links repeating section:
Click Save, then open the form in Display Mode:
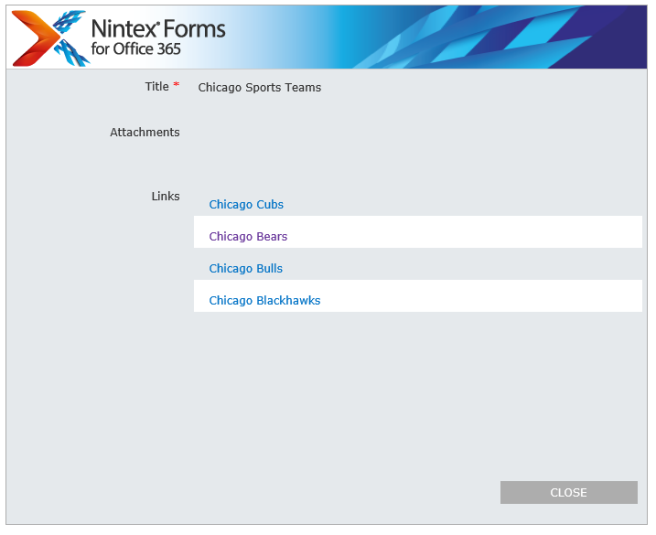
With any luck, clicking the link should open it in a new tab.
If you don’t want the link to open in a new tab, remove target=”_blank” from the JavaScript function in Step 12.
Summary
In case you’re wondering what you did, you:
- Created a custom panel to hold the input for the hyperlink field, and a second custom panel to hold the display of the hyperlink.
- Created a JavaScript function to concatenate the URL and Display Text of the hyperlink “control”, then called the function in the formula for the Calculated Value control used to display the hyperlink.
- Set rules on the “Edit” and “Display” panels so that they only appear in the appropriate form.
- Added custom CSS classes to the Repeating Section control and the “Display” panel that use the “Is Display Mode” function to render a custom CSS class name, then defined a CSS class with this name and assigned it a hard-coded height property.
Nice job! Let me know in the comments below if this worked for you, or if anything is unclear. As always, sharing is caring!

Does this work for Ninex 2013 on premise?
Yes 🙂